
In practical terms, an injury assessment is a structured way to spot urgent risks, guess what is likely harmed and pick safe next steps without delaying emergency help. This quick guide shows simple checks that protect a person while professionals arrive.
Know the difference between signs and symptoms. Signs are what you can see, hear or feel. Symptoms are what the person reports. Both matter when judging on the spot.
The procedure is staged: first address life‑threats with DRSABCD, then use STOP for a rapid on‑field screen, and follow with TOTAPS for a fuller check. Stop as soon as you find clear indicators that the person should not continue activity.
This approach is a precautionary check, not a full medical diagnosis. Its purpose is to support decision‑making — to stop activity, seek medical care, or monitor — and to complement professional care. Good practice looks like calm communication, minimal movement and a clear record of what you found and did.
Key Takeaways
- Use a staged, safe process to prioritise life‑threats first.
- Combine observed signs and reported symptoms for clearer judgement.
- Use simple checks (DRSABCD, STOP, TOTAPS) and stop when needed.
- This procedure guides decisions, not a medical diagnosis.
- Keep the person calm, limit movement and note actions taken.
- Seek professional care when red flags appear or recovery stalls.
Start with first aid priorities before you assess the injury
Safety first. Ensure the scene is secure for you, bystanders and the person before you approach. An unsafe area can cause more harm and delay proper help.
Make the scene safe and check for response using DRSABCD principles
Follow DRSABCD in order: check for Danger, check for Response, Send for help, open the Airway, check Breathing, begin CPR if needed, and use a defibrillator if available.
To check response, speak clearly and ask simple questions. Ask the person to squeeze your hand or follow a basic command. Do not move anyone if it may worsen spinal or other serious conditions.
Primary assessment basics: breathing, circulation and severe bleeding checks
Confirm breathing and circulation quickly. Look, listen and feel for breaths. Check the pulse if trained. Locate and control severe bleeding at once — this is non-negotiable.
- If no response or life‑threats exist, continue through SABCD and call for urgent help.
- Only perform a secondary survey once life‑threats are ruled out.
- Even minor visible wounds need attention if the person shows abnormal signs or worsening symptoms.

| Step | Action | Why it matters |
|---|---|---|
| Danger | Scan and make scene safe | Prevents further harm to helpers and the person |
| Response | Talk and test simple commands | Shows level of consciousness and guides next steps |
| Breathing/Bleeding | Check breaths, control severe bleeding | Addresses immediate threats to life |
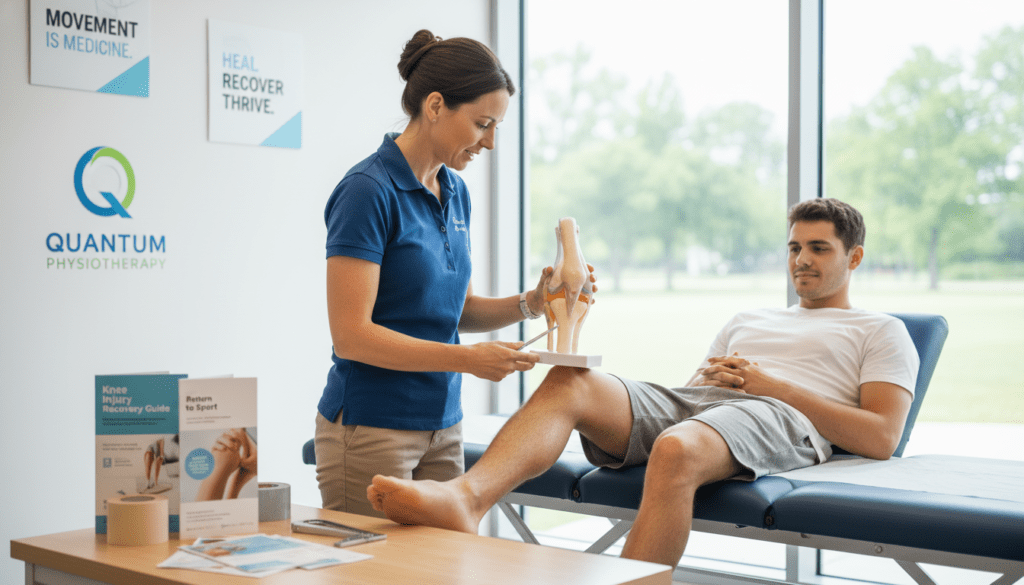
Injury assessment step-by-step: STOP, TOTAPS and a head-to-toe check
Work through a brief on-field screen, then move to a systematic head‑to‑toe review. This sequence helps protect the person and clarifies the next steps.
STOP first. Halt activity, protect the affected area and avoid testing through pain. Preventing further harm is the immediate priority.

Use TOTAPS for a fuller check: Talk, Observe, Touch, Active & Passive movement, then Skills.
Talk
Ask what happened, where it hurts and how the pain feels. Note cracking, pins and needles, dizziness or visual change, and what bystanders saw.
Observe
Look for swelling, discolouration, obvious deformities and unequal movement. Compare left and right for guarding or altered posture.
Touch
Palpate gently for tenderness, heat, hardness or unusual softness. Stop if pain worsens or if a fracture or spinal concern is likely.
Active & passive movement
Only test movement if it does not increase pain. Use controlled, gentle passive moves; any sharp pain, locking or resistance means stop.
Skills test and head-to-toe checks
Try simple functional skills—walk a few steps, grip or raise an arm—to decide if they should stop activity. Check the head and face for scalp lumps, mouth wounds and any blood from ears or nose.
Assess the eyes and pupils for tracking, equal size and light reaction. Take care with neck and shoulder; stabilise if spinal risk is suspected.
Scan chest, ribs and abdomen for bruising or tenderness. Compare arms, hands and legs for deformities, test finger and toe movement and note any altered sensation.
Know when to stop, stabilise and call EMS in India
A clear threshold must trigger escalation: if breathing, consciousness or pulse change, pause activity and get help at once. Prioritise immediate care and activate emergency services when life‑threatening conditions are present.

Red flags that suggest a life‑threatening condition
Stop and escalate if you see altered consciousness, sudden confusion, seizures, severe or uncontrolled bleeding, intense chest pain, trouble breathing, or signs of shock.
Head warning signs needing urgent action include unequal pupils, repeated vomiting, severe headache or rapidly worsening response after impact.
Spinal precautions: when not to move the person
Suspect spinal risk with high‑energy impact, fall from height, neck pain, numbness or weakness. Do not move the neck or roll the person unless immediate danger exists.
| When to suspect | Action |
|---|---|
| Fall, high impact, neck or shoulder pain | Stabilise neck; avoid repositioning |
| Numbness or weakness | Keep still, call EMS (112 / 108) |
| Immediate hazard (fire, collapse) | Move only to safe area, then re‑assess |
Recovery position: safe side‑lying steps
Use side‑lying for an unresponsive but normally breathing person only if no pelvic or spinal risk and you must protect the airway or leave briefly.
Extend one arm above the head, roll the body so the head rests on that arm, and bend both legs to stabilise the side position.
While waiting for EMS, monitor breathing and response, re‑check bleeding control and be ready to start CPR if breathing becomes abnormal. Give clear location and hazard details when you call 112 or 108.
Next steps after the assessment: monitor, document and support recovery
Following the field steps, document what you observed and continue careful observation. Keep watching the person for changes in breathing, consciousness and any new bleeding. Recheck the affected area at intervals without forcing movement.
Record the mechanism, time, a simple pain score, visible deformities, points of tenderness, changes in movement and any head or eyes signs. This note helps clinicians on handover.
Tell EMS what you saw (signs), what the person reported (symptoms), the first aid given and whether the condition improved, stayed the same or worsened. Avoid giving food or drink if surgery or reduced consciousness is possible.
Protect the area, keep the body warm, encourage stillness if the neck or shoulder may be involved, and leave medical ID jewellery in place. Seek follow‑up if pain, swelling, numbness or altered vision develop.
The aim of this procedure is to spot serious problems early, limit harm and help safe recovery with timely medical care.