
Comprehensive gait analysis services in India mean a structured, repeatable process that turns observation and measurements into a reliable diagnostic aid rather than guesswork.
Clinics combine short captures on a treadmill or walkway with frame-by-frame replay and key metrics. Retail-style running assessments often last around thirty minutes, with a ten to fifteen second recording in neutral shoes.
The guide explains what this service is, what clinicians look for, the data and methods used, and how findings form a care plan. It also covers optional add-ons such as side-view capture and 3D foot scanning that create a rapid 3D model and measurements.
This section is for patients, runners, clinicians and physiotherapists. It highlights common injuries and recurring issues that prompt referral, and stresses that one clear snapshot helps, but repeatability and multiple cycles build confidence.
After reading, you will ask better questions, value objective data, and see how rehab, orthotics and footwear changes are derived.
Key Takeaways
- Structured process: an organised, repeatable service supports accurate diagnosis.
- Efficient format: short capture times with detailed replay save patient time.
- Tools matter: 3D scans and side views add practical, objective data.
- Who benefits: patients, runners, clinicians and physiotherapists gain clearer care plans.
- Repeatability: multiple cycles increase confidence in results.
What gait analysis is and why it matters for accurate diagnosis
Normal locomotion is not just how someone looks while moving; it is a repeatable, energy-efficient strategy the body uses to manage load.
The term describes rhythmic, alternating lower-limb movement that produces forward progression with minimal energy use. This understanding helps clinicians judge efficiency, not appearance alone.

How evaluation reveals hidden drivers
Evaluation highlights compensations that often hide the true source of pain. Left-right differences, altered timing and unusual joint motion can point to prior injuries or pathology.
“A single snapshot can mislead; repeated cycles reveal patterns that guide treatment.”
When cycle-based review is most useful
Cycle observation is valuable for patients with ongoing pain, post-surgery follow-up, neurological conditions, and return-to-sport decisions.
- Clinical use: diagnosis, rehab planning and tracking progress.
- Research use: testing interventions, footwear or assistive devices.
- Practical note for India: busy clinics gain the best results by pairing focused observation with selective objective measures for speed and cost-effectiveness.
Limitations: parameters do not predict every injury, but they document how a patient moves now and how that changes with treatment.
Gait cycle essentials clinicians assess during a gait analysis
Most clinical problems surface when the foot meets the ground and the body accepts weight in the stance phase. The movement cycle splits into two broad parts: stance (about 60%) and swing (about 40%). Clinicians watch the stance phase closely because loading exposes deficits not obvious when the limb swings.
Stance versus swing and why loading matters
Loading means weight acceptance and shock absorption after contact with the ground. Poor control here can cause compensations later in the cycle and produce pain or inefficiency.
Support periods that affect stability
Support is the time a limb bears weight. Single support is when one limb holds the body; double support is when both feet touch ground. Longer double support or shortened single support often signals pain avoidance or reduced stability.
Stance sub-phases clinicians inspect
- Contact: initial foot contact and force direction into the limb.
- Foot-flat (loading response): shock absorption and rapid transition.
- Mid-stance: body passes over the foot; balance and alignment are key.
- Propulsive phase: heel rise and toe-off generate forward drive.
Clinicians use slow-motion replay to note cues: timing of contact, speed of foot-flat, centre-of-mass progression in mid-stance, and quality of propulsion. These observations guide where to look first when a patient reports pain or recurring performance issues.
What data is collected during gait assessment and how to interpret it
Assessment captures spatial, force and muscle data to explain why symptoms occur.
Three pillars of measurement: kinematics show what moves; kinetics show what forces act; EMG shows which muscles fire and when. Together they turn numbers into clinical insight.
Kinematic and spatio-temporal information
Key metrics: step length, stride length, step width and foot angle (relative to the line of progression). Shorter step length or a wider step often reflects pain, reduced confidence or a balance strategy. Compare left versus right and across trials.
Kinetic information
Gravity and interaction produce vertical ground reaction force and plantar pressure maps. Pressure distribution reveals where the foot bears load. Centre of pressure pathways help localise overload and risky loading patterns.
Muscle activation (EMG)
EMG indicates whether muscles activate at the correct phase and duration. It supports diagnosis but needs careful setup; skin artefact and noise can limit quality.
| Metric | What it measures | Clinical meaning | Action |
|---|---|---|---|
| Step length | Distance between consecutive contacts | Asymmetry suggests pain or weakness | Compare sides; repeat trials |
| Vertical force | Load during stance | High peaks may indicate abrupt loading | Review footwear and shock absorption |
| Centre of pressure | Path of load under the sole | Shifted path points to overload site | Targeted offloading or orthotic change |
| EMG timing | Muscle onset/offset across phases | Early or late firing can impair function | Rehab to retrain timing |

One complete gait cycle is the minimum unit: observed leg strike → contralateral strike → observed leg strike. Use multiple foot strikes to reduce the risk of over-interpreting a single atypical stride and relate findings to the patient’s weight-bearing tolerance and training load.
Methods and technology used in modern gait analysis services
Modern clinics use a layered toolkit that starts with simple observation and moves to instrumented platforms and 3D labs. Choice depends on the clinical question, space and budget.

Qualitative approaches clinicians use
Visual observation and slow-motion video replay catch obvious asymmetry and timing faults. Functional scales (Timed Up and Go, 6-minute walk) provide repeatable scores for progress.
2D marker video versus 3D lab systems
2D video is cost-effective and quick but misses out-of-plane rotations. 3D systems capture detailed motion and joint rotation but need space, calibration and specialist operation.
Force, pressure and platform tools
Force plates report magnitude and direction of ground reaction force and centre-of-pressure. Pressure platforms and continuous walkways map distribution under the feet across multiple steps.
In-shoe systems and wearables
In-shoe plantar pressure sensors measure loading inside real footwear and help with orthoses and return-to-run choices. IMUs record acceleration and angular velocity for outside-the-lab monitoring but need careful placement to avoid artefact.
Practical decision framework for India
Start with observation + video for most patients. Add a pressure platform or in-shoe system when footwear or load distribution is central. Reserve 3D labs for complex cases where high accuracy justifies cost and set-up time.
How to prepare for and undergo a comprehensive gait analysis session
Preparing well makes the test quicker and the findings more useful for practical care. A short intake gives the clinician context so the session focuses on your goals and symptoms.
Before your appointment
Bring the shoes you train in and a neutral pair for testing. Wear close-fitting shorts so the clinician can see leg movement clearly.
Note when pain occurs, especially during the stance phase or at initial contact. Record recent training, events and past injuries.
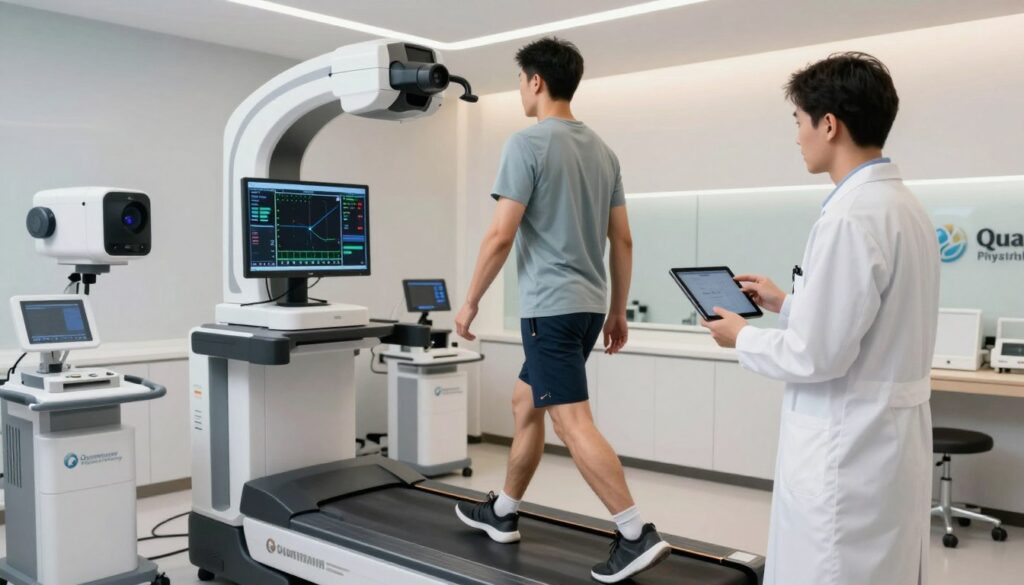
What happens during the test
Expect a ~30-minute appointment with a 10–15 second treadmill capture in a neutral shoe. Multiple foot strikes are recorded to improve representativeness.
Clinicians use slow-motion video and frame-by-frame replay to view early loading and propulsion in each cycle.
Review and optional add-ons
Results are shown as clear metrics and plain-language notes so the patient understands next steps.
Optional enhancements include plantar pressure maps and a 3D foot scan for sizing and targeted offloading advice.
| Stage | Purpose | Patient action |
|---|---|---|
| Intake | Gather history and goals | Bring shoes; list symptoms |
| Capture | Record movement cycles on treadmill | Wear neutral shoes during test |
| Review | Explain key metrics and plan | Ask questions; agree follow-up |
Leave with a summary, clear next steps and a plan for follow-up or re-testing at an agreed time.
Turning results into a clear care plan and better movement outcomes
Translate measured findings into a simple, ordered care plan: prioritise the biggest pain drivers, load‑tolerance limits and control deficits, then match interventions to the highest‑impact items.
If problems concentrate in early stance phase, target load acceptance, progressive strength and technique. When propulsion is weak, focus on calf capacity, foot mechanics and cadence changes.
Common components used in India include physiotherapy programmes, mobility and strength progressions, running retraining, footwear adjustments and timely referrals for complex injuries.
Use normal gait reference ranges as a comparison tool, not a strict template. Re-testing with the same methods documents change, validates treatment and helps prevent recurrence.
Practical next steps: explain results in plain language, agree a follow‑up (6–12 weeks), and monitor key symptoms or metrics between visits so the plan can be adjusted quickly.